Why Monitoring CO₂ in ppm at Home Matters
Indoor air quality directly affects sleep, productivity, cognitive function, and long-term health. Yet most homeowners have no idea what their carbon dioxide (CO₂) levels are indoors. You may feel tired, drowsy, or unfocused — not because of poor sleep — but because CO₂ concentrations in your room have quietly risen above healthy levels.
This is where understanding ppm (parts per million) becomes essential. CO₂ levels are measured in ppm, and even small increases can significantly impact indoor comfort.
For example:
- Outdoor air: ~420 ppm
- Well-ventilated room: 600–800 ppm
- Poorly ventilated bedroom overnight: 1,500+ ppm
- Cognitive decline threshold: ~2,000 ppm
DIY CO₂ monitoring using low-cost ppm sensors is now accessible and affordable. However, many users misunderstand readings, skip calibration, or misinterpret ppm calculation results.
This comprehensive guide explains how to monitor CO₂ at home using ppm sensors, how readings are interpreted, how to calibrate devices correctly, and how to avoid common errors.
Understanding CO₂ and ppm Basics
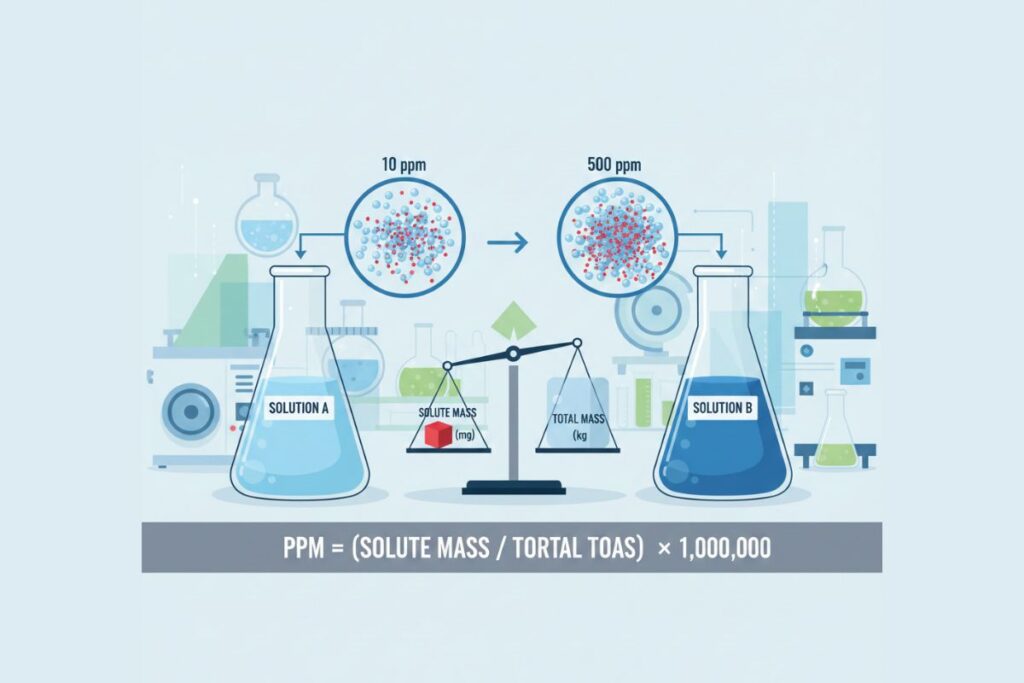
What Is ppm?
Parts per million (ppm) expresses one unit of gas per one million units of air by volume.
For gases:
ppm (v/v) = (Volume of gas / Volume of air) × 1,000,000
CO₂ is almost always measured as ppm by volume.
Why CO₂ Is Measured in ppm
Because CO₂ concentrations in air are very small compared to total air volume.
Instead of writing:
0.00042 (fraction)
We write:
420 ppm
It’s clearer and easier to interpret.
What Do CO₂ ppm Readings Mean?
| CO₂ Level (ppm) | Air Quality Interpretation |
|---|---|
| 400–450 | Outdoor fresh air |
| 600–800 | Good indoor air |
| 800–1,000 | Acceptable |
| 1,000–1,500 | Drowsiness begins |
| 1,500–2,000 | Poor ventilation |
| 2,000+ | Cognitive impairment risk |
These ranges help you interpret readings correctly.

ypes of CO₂ Sensors for Home Use
1. NDIR Sensors (Non-Dispersive Infrared)
✔ Most accurate
✔ Used in professional monitoring
✔ Typical range: 0–5,000 ppm
2. eCO₂ Sensors (VOC-Based Estimation)
✔ Lower cost
✘ Indirect measurement
✘ Less reliable
Recommendation: Choose true NDIR sensors.
How ppm Sensors Measure CO₂
NDIR sensors work by:
- Emitting infrared light
- CO₂ absorbs specific wavelengths
- Detector measures absorption
- Converts signal into ppm value
The device internally performs a type of ppm calculation based on optical absorption laws.
Calculation Walkthrough: Understanding ppm Conversion
Although most sensors display ppm directly, understanding math improves trust in readings.
Scenario:
Room volume = 30 m³
Measured CO₂ = 1,200 ppm
Step 1: Convert ppm to fraction
1,200 / 1,000,000 = 0.0012
Step 2: Calculate CO₂ volume
CO₂ volume = 0.0012 × 30 m³
= 0.036 m³
So 0.036 cubic meters of CO₂ is present in that room.
DIY CO₂ Monitoring Setup at Home
Step 1: Choose Sensor
Look for:
- NDIR technology
- Range up to 5,000 ppm
- Automatic baseline calibration (ABC)
- Temperature & humidity compensation
Step 2: Proper Placement
✔ At breathing height
✔ Away from direct airflow
✔ Not near kitchen stove
✔ Not directly above AC vents
Step 3: Monitor Trends
Instead of focusing on one reading, observe:
- Night-time peaks
- Morning ventilation drop
- Occupancy changes
Trend analysis is more valuable than isolated values.
Calibration Tips: Ensuring Accurate ppm Readings
Why Calibration Is Important
Low-cost sensors drift over time.
Without calibration:
- 800 ppm may show 1,100 ppm
- 420 ppm may show 600 ppm
Manual Outdoor Calibration Method
Step 1
Take sensor outdoors.
Step 2
Allow it to stabilize for 15–20 minutes.
Step 3
Set calibration reference to 420 ppm (current global average).
This corrects baseline drift.
Automatic Baseline Calibration (ABC)
Many sensors assume that the lowest reading over 7 days equals 400 ppm.
⚠️ Problem:
If you never ventilate your room fully, baseline may shift incorrectly.
Recommendation: Periodically expose sensor to fresh outdoor air.
Case Study 1: Bedroom CO₂ Monitoring
Family installed a low-cost sensor.
Night-time readings: 1,800–2,200 ppm
Symptoms:
- Morning headaches
- Poor sleep
Solution:
- Window opening before bed
- Installed mechanical ventilation
Result:
Night-time ppm reduced to 850
Sleep quality improved significantly.
Case Study 2: Home Office Productivity
Remote worker noticed afternoon fatigue.
CO₂ readings:
1,600 ppm during video calls
After adding air purifier + ventilation:
Reduced to 700 ppm
Reported 20% improvement in focus.
Comparison Table: Cheap vs Professional CO₂ Monitors
| Feature | Low-Cost Sensor | Professional Monitor |
|---|---|---|
| Price | ₹2,000–₹5,000 | ₹25,000+ |
| Accuracy | ±50–100 ppm | ±30 ppm |
| Calibration | Manual/ABC | Multi-point |
| Data Logging | Limited | Advanced |
| Suitability | Home use | Lab/Industrial |
DIY monitoring is sufficient for home air quality.
Common Mistakes in DIY CO₂ Monitoring
1. Placing Sensor Near Kitchen
Cooking releases CO₂ temporarily.
2. Ignoring Calibration
Leads to false high or low readings.
3. Confusing ppm With Percentage
1% CO₂ = 10,000 ppm (dangerous level).
4. Not Accounting for Temperature
High temperature can affect sensor drift.
5. Overreacting to Short Spikes
Focus on sustained high ppm, not brief peaks.
Understanding ppm vs mg/m³ for CO₂
Sometimes CO₂ is expressed in mg/m³.
Conversion formula:
mg/m³ = (ppm × Molecular Weight) / 24.45
For CO₂ (MW = 44):
At 1,000 ppm:
mg/m³ = (1,000 × 44) / 24.45
≈ 1,800 mg/m³
Most home users only need ppm.
How to Calibrate a CO₂ ppm Sensor at Home
✔ Place outdoors
✔ Avoid traffic areas
✔ Wait 20 minutes
✔ Reset baseline
✔ Repeat monthly
Regular calibration ensures reliable concentration measurement.
Tools & Calculators in the Digital Era
Manual ppm calculation was once done using slide rules.
Today, digital tools simplify the process.
Trusted Platform: ppmcalculation.com
ppmcalculation.com offers:
Advantages
- Accurate ppm formula implementation
- Instant calculation
- Mobile-friendly design
- No registration
- Suitable for students and professionals
The evolution of ppm now includes digital precision.
Frequently Asked Questions (FAQs)
1. What is a safe CO₂ level indoors?
Below 1,000 ppm is generally considered acceptable.
2. Can high CO₂ kill you?
Extremely high levels (>40,000 ppm) are dangerous, but typical homes rarely reach that level.
3. How often should I calibrate?
Once every 1–3 months for home use.
4. Is a cheap sensor reliable?
Yes for trend monitoring, if calibrated.
5. Why does CO₂ rise at night?
Closed windows + continuous breathing.
6. Does air purifier reduce CO₂?
Most purifiers do not remove CO₂. Ventilation is required.
Why DIY CO₂ Monitoring Using ppm Matters
Understanding ppm and learning DIY CO₂ monitoring empowers homeowners to improve indoor air quality scientifically.
Key Takeaways
✔ CO₂ is measured in ppm by volume
✔ 400–800 ppm is healthy range
✔ Calibration prevents drift
✔ Ventilation lowers ppm effectively
✔ Trend analysis matters more than single readings
By understanding ppm and using reliable tools, you can optimize indoor air quality for health and productivity.
👉 Visit ppmcalculation.com for:
Related PPM Calculators
Explore more water quality and chemistry tools: